Deploying Microsoft Azure Site Recovery Manager to replicate and failover virtual machines on Hyper-V host servers that are located in System Center Virtual Machine Manager (VMM) clouds. It’s not Microsoft Hyper-V alone protection anymore, they have managed to protect VMWare and Physical Servers on Primary Sites too.
 SCVMM 2012 R2 to Azure
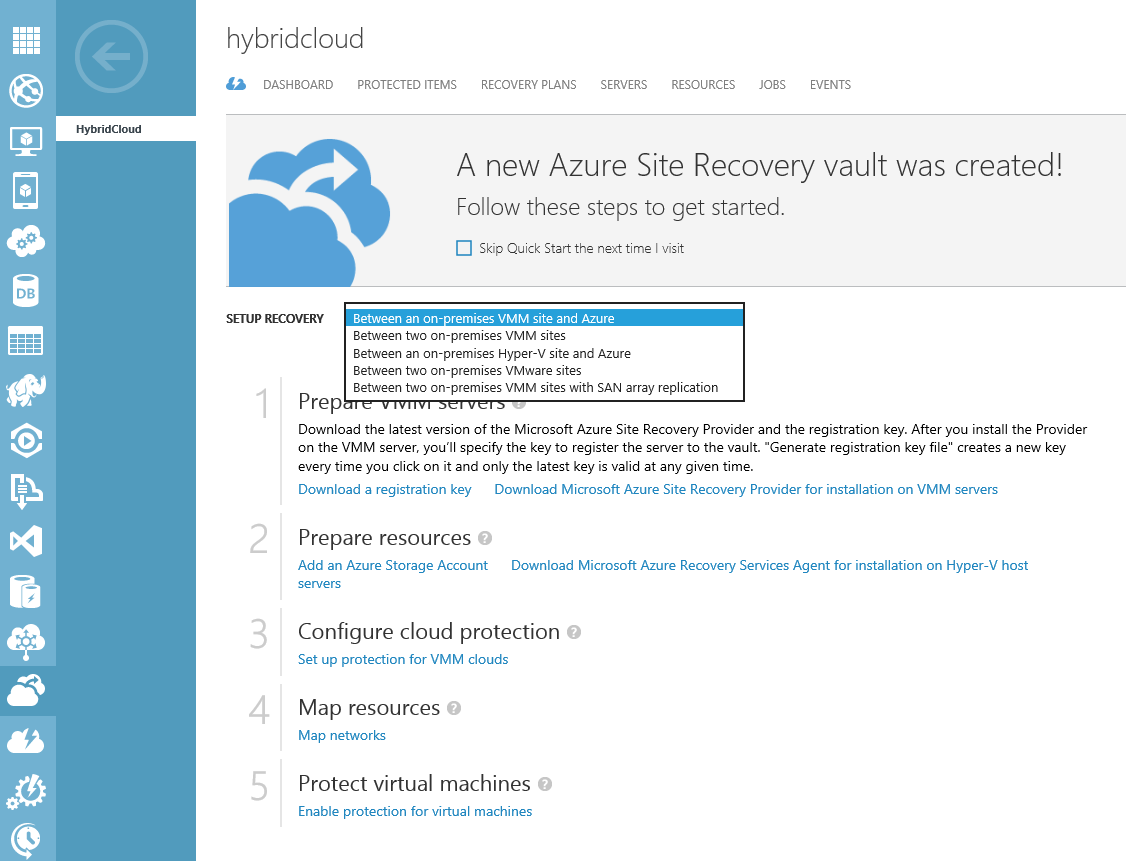
Microsoft Azure Site Recovery Quick Start
On April 30, 2015. You could choose from the Quick Start page the following configurations :
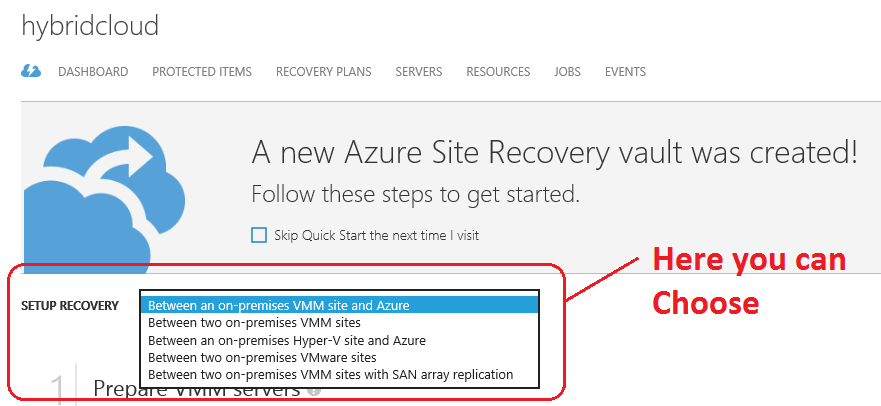
- Between an On-Premises VMM Site and Azure
- Between Two On-Premises VMM Sites
- Between an On-Premises Hyper-V Site and Azure
- Between Two On-Premises VMWare Sites
- Between Two On-Premises VMM Sites with SAN Array Replication.
I choose the first one, Microsoft System Center 2012 R2 Virtual Machine Manager RU6 and Microsoft Azure.
Before we begin : information about Azure Site Recovery prerequisites and supported scenarios.
When Your Microsoft Azure Subscription is Active and you have created a Storagepool in Azure, you can follow the next step.
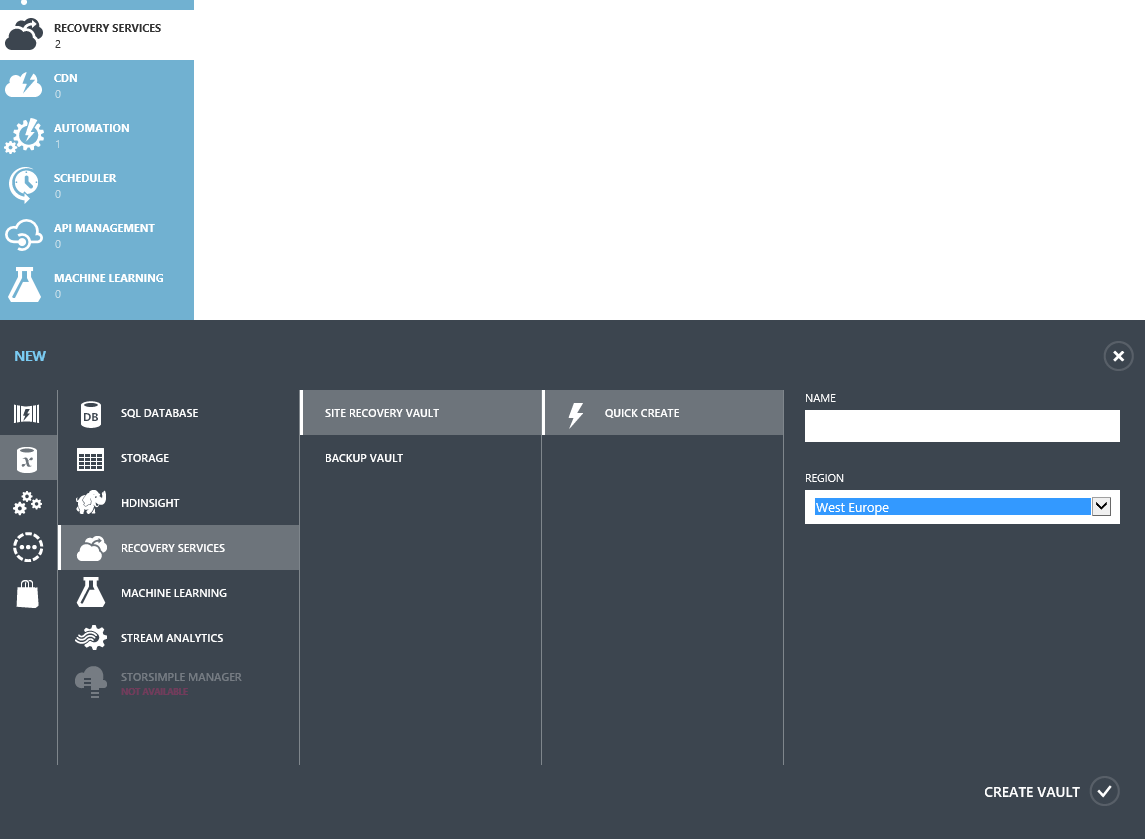
Quick Create a Site Recovery Vault by giving it a Name and choose a Region

This is my Azure Site Recovery called HybridCloud
From here start the Quick Start Page of your Azure Site Recovery Vault by clicking on

I Choose for SCVMM to Azure

Just Click on the links for a Registration key and the SCVMM Provider Software
![]()
 Click on Install
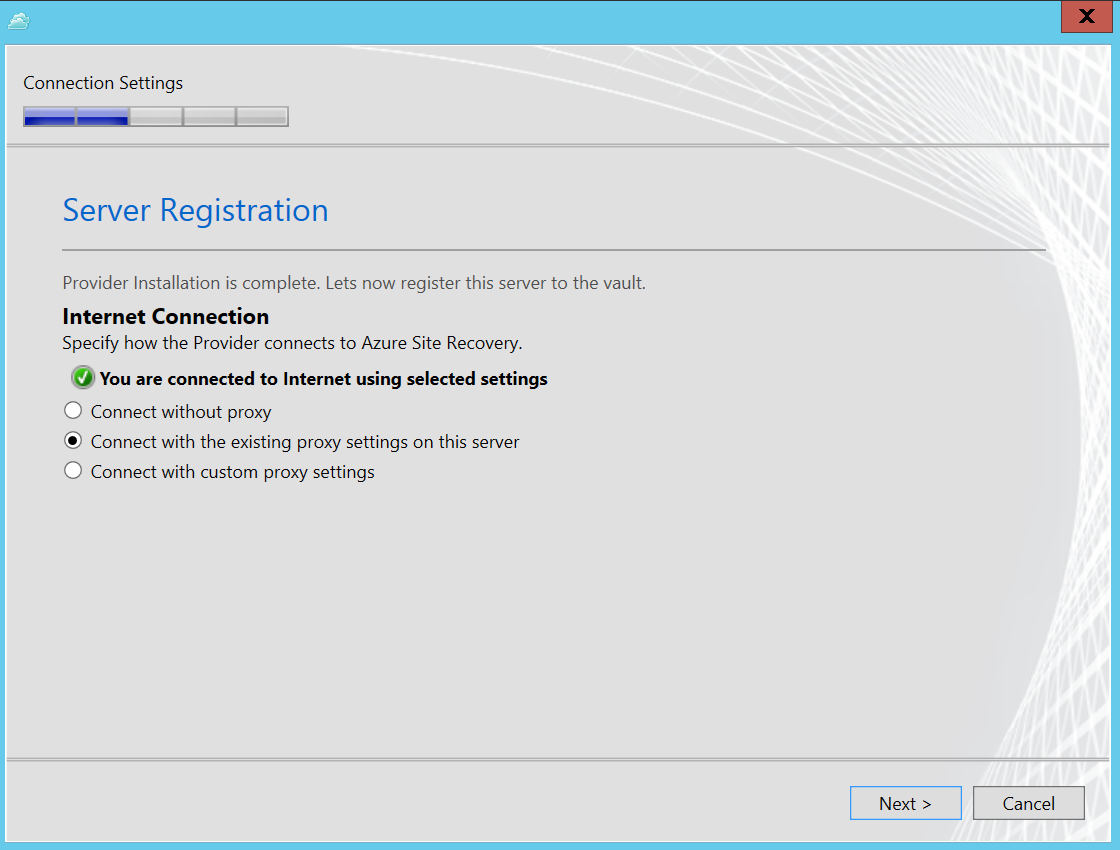
Set the Proxy settings when you behind an Proxy Server

Browse to your downloaded Registration key of the Azure Site Recovery

Give the directory path for the Certificate

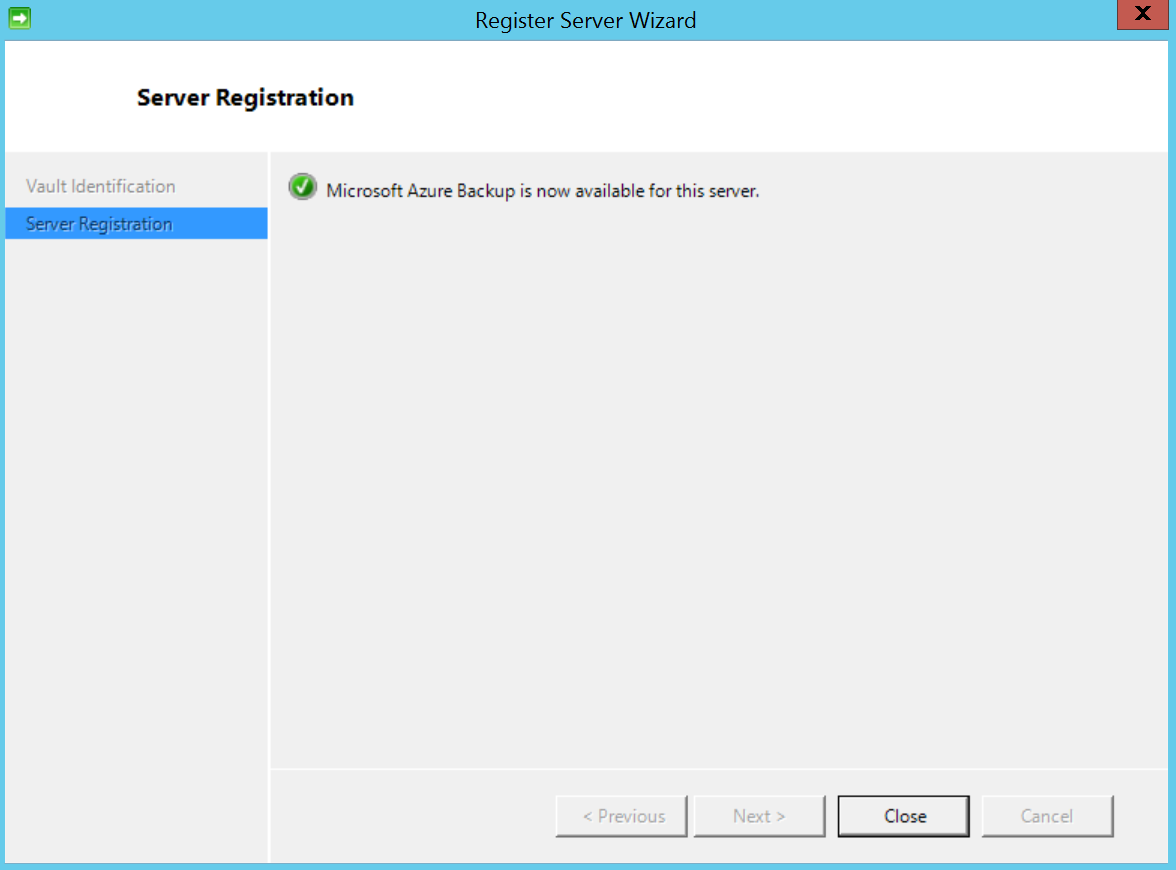
Registration software in SCVMM is completed

Here you see your SCVMM Server in the Azure Site Recovery Vault

In System Center 2012 R2 Virtual Machine Manager RU6 is ASR also Active
Next Step is to install the ASR Agent on Hyper-V :

Choose your Cache Location with Enough Storage
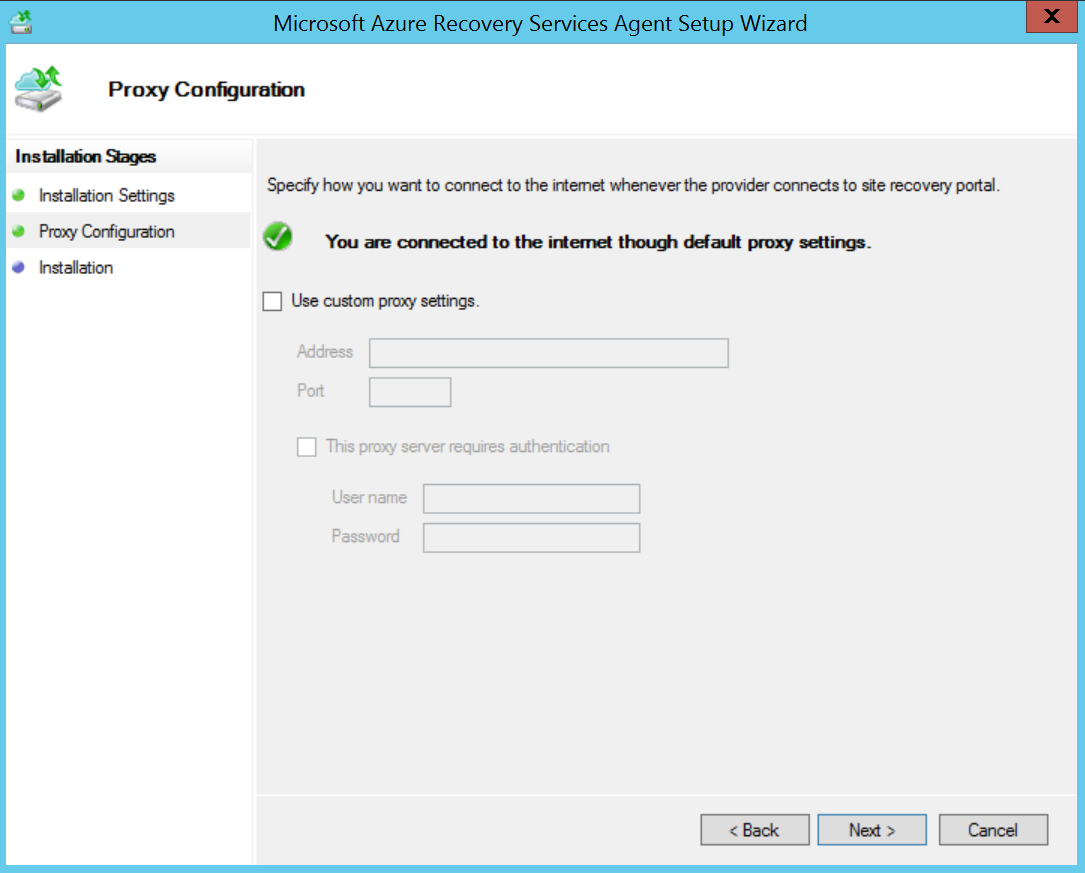
Set your Proxy Settings and Click Next
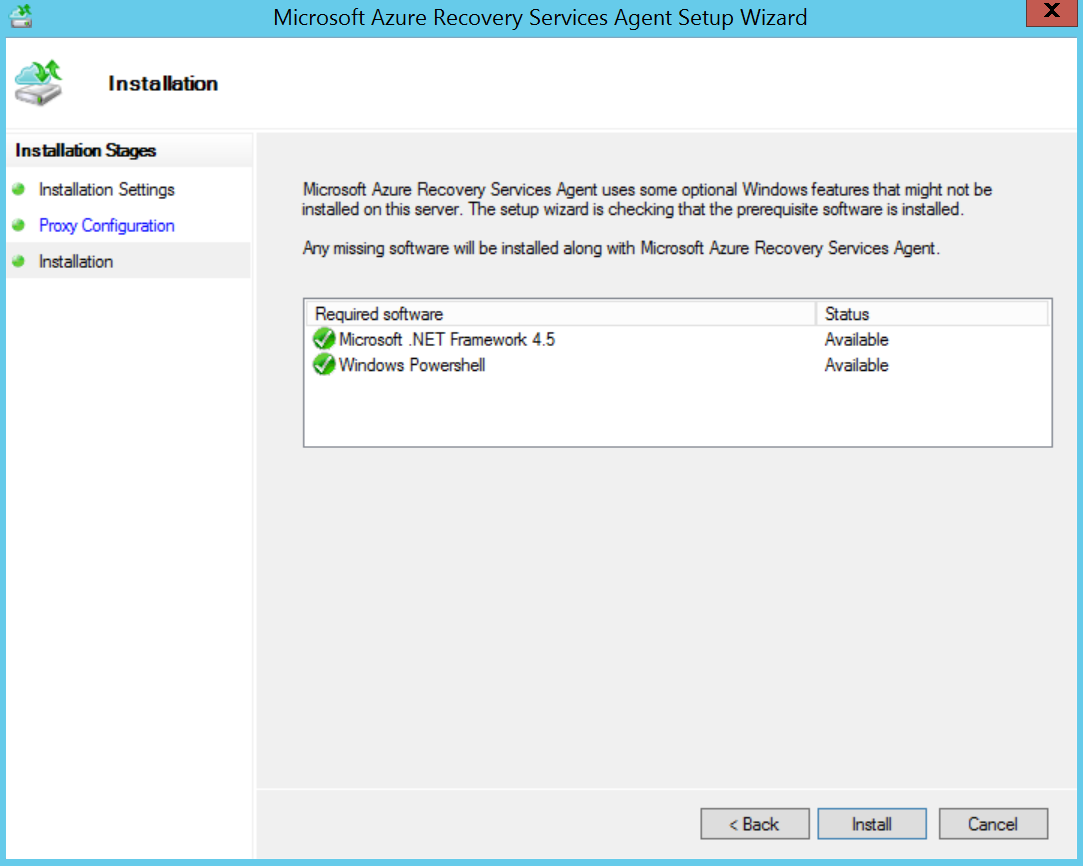
Click Install

Click on Proceed to Registration
Next Step in Virtual Machine Manager
If you don’t have your Virtual Machines in a SCVMM Cloud, you have to make Cloud(s) with Virtual Machine Manger.
The next step is to make a Cloud if you don’t have any.
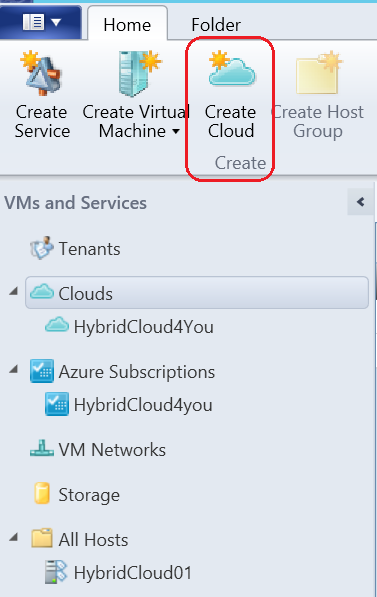
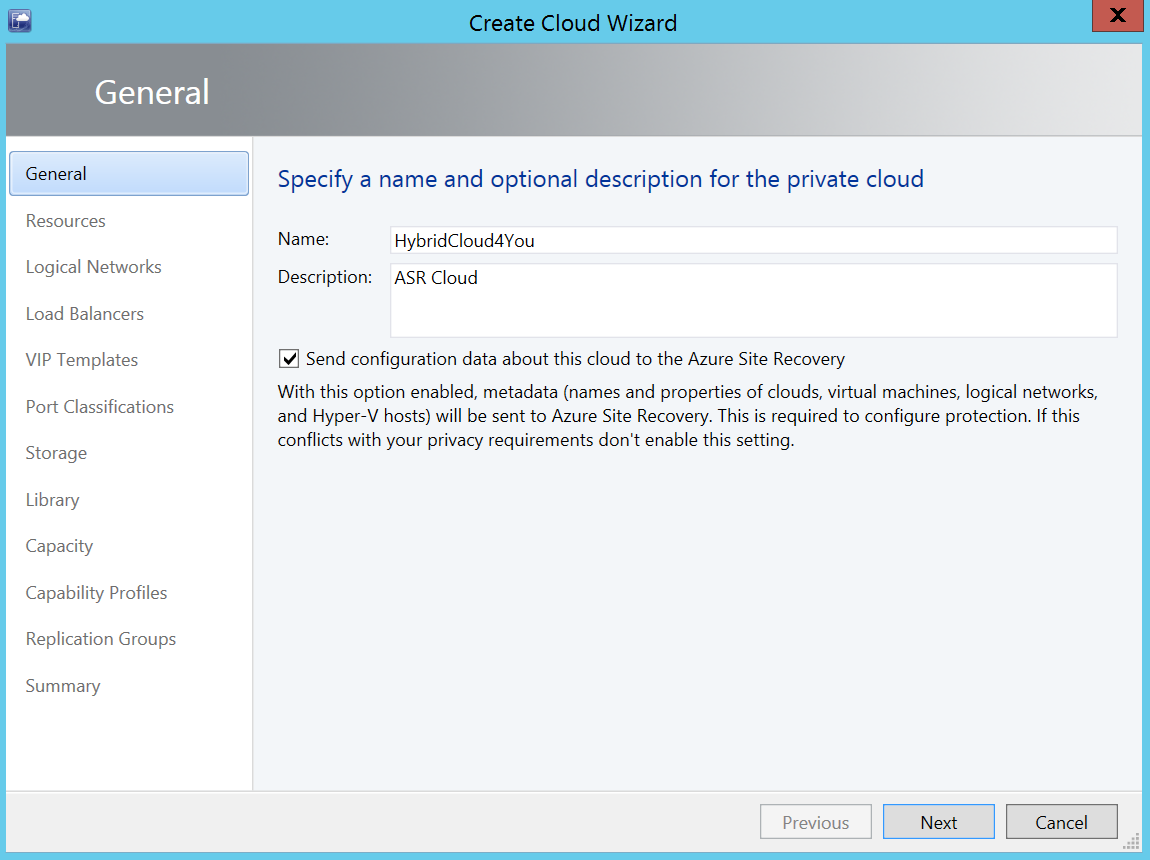
Give your Private Cloud a Name and Mark the Checkbox for ASR Protection

Select your Resources

Choose the right network

Click Next
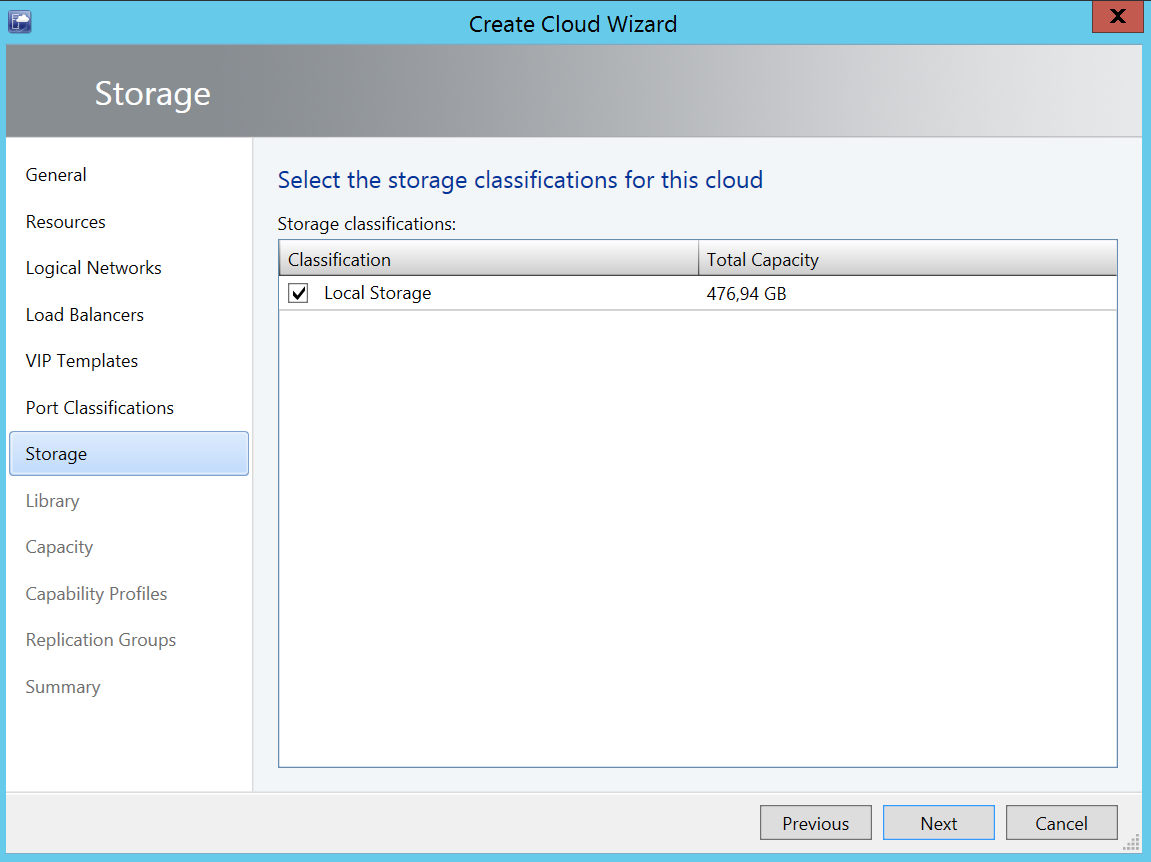
Choose the right Storage pool(s) for this Cloud

Check the Summary and make your Private Cloud with SCVMM
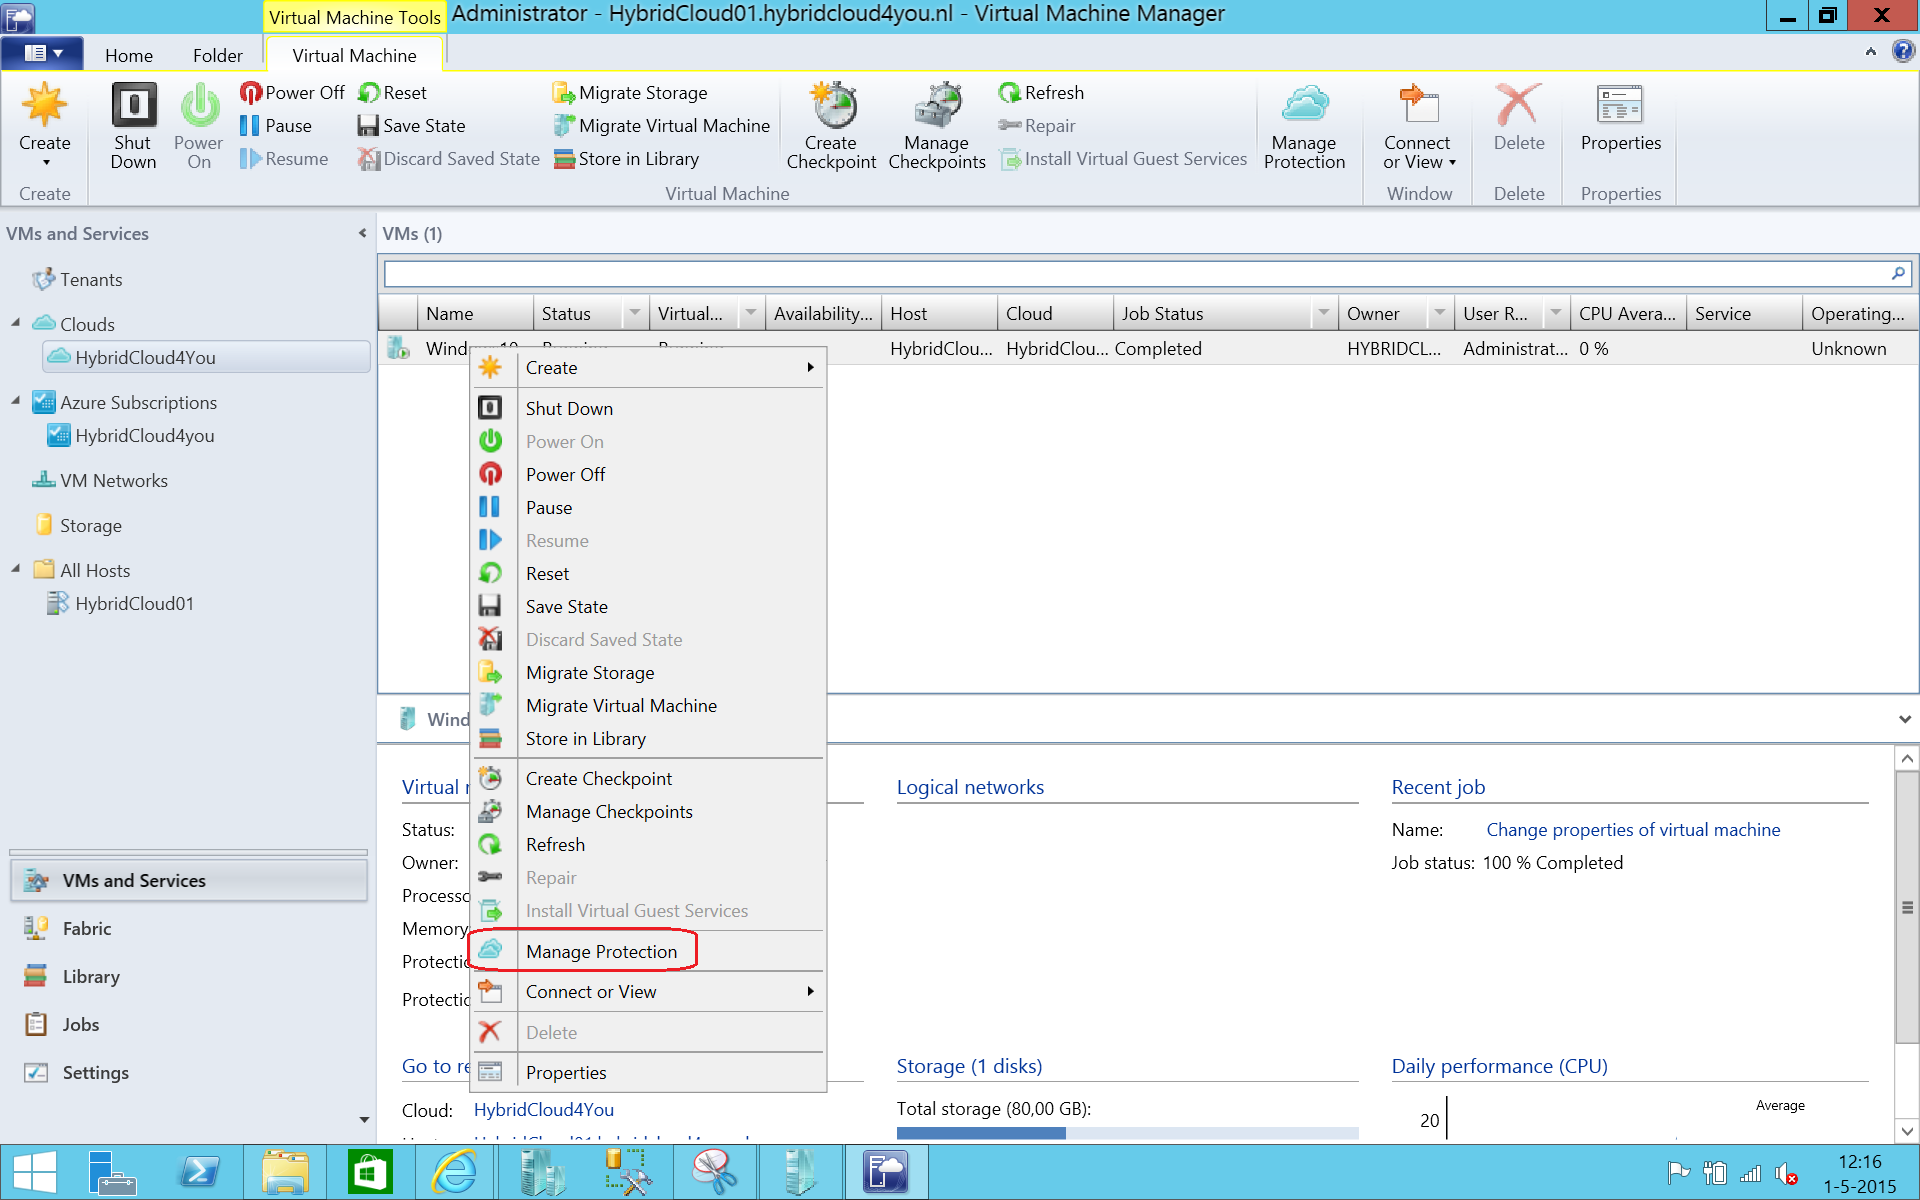
When you have a VM in your Cloud Click on Manage Protection

Select the Replication settings

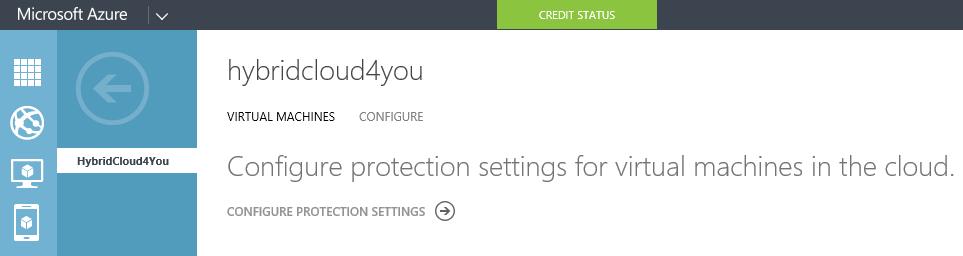
The SCVMM Cloud is in the Azure Recovery Site
Configure now the network Maps
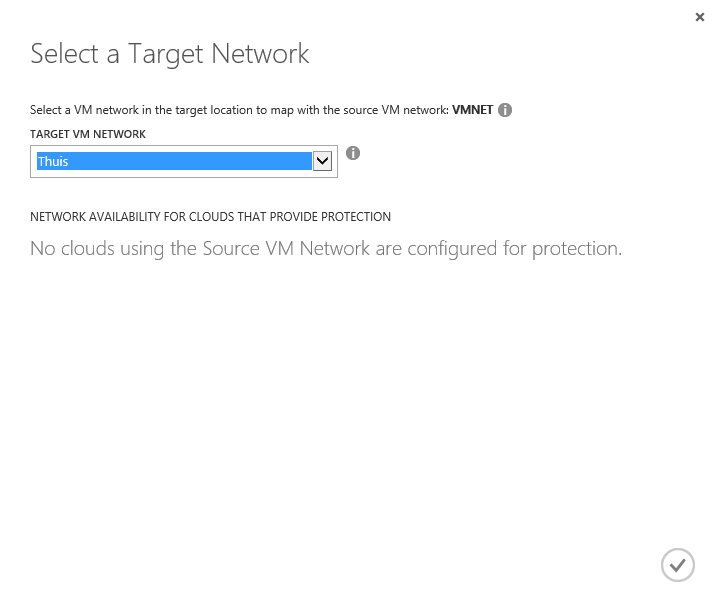
Map the Azure VNET to your Local Network
When you protect the Virtual Machine you will see this in Azure :

And after this Hyper-V Replica to Azure is replicating the VM to the Microsoft Cloud :

When the Sync is completed we can make an Azure Recovery Plan :
