IE11 Migration Guide: Create Internet Explorer 11 batch deployment package
Apr 15, 2015
Beginning January 12, 2016, older versions of IE browser (8~10) will not be supported anymore. A growing number of enterprises and individual customers start migrating to Internet Explorer 11. Upgrading to IE11 is an easy job for individual customers, however it could be challenging to IT administrators in large enterprise as they need to ensure the success of hundreds and thousands PCs.
There are always some PCs that fail to upgrade to IE11 when using official IE11 installation due to various reasons: missing prerequisites, system file corruption, etc. And it would be time consuming to troubleshoot such issue. This article is going to introduce a way to create a batch IE11 deployment package, you would have the following advantages by using this way to upgrade IE.
- You can deploy IE11 without internet access.
- Only one reboot is required.
- Much faster than official installation.
Following is the detailed steps of making the package.
- Download all IE11 prerequisites from https://support.microsoft.com/en-us/kb/2847882. Three of them are optional, but I would still recommend you to install them.
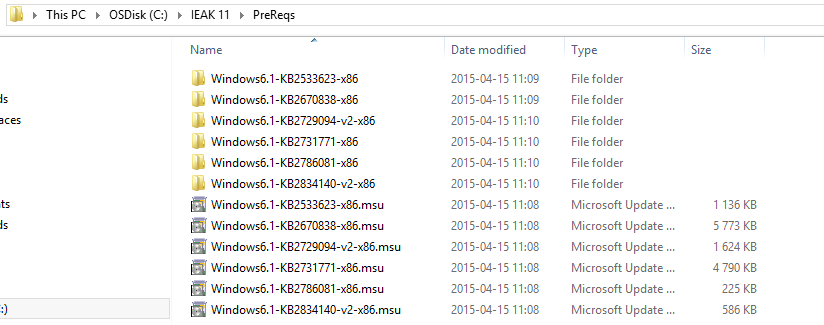
- Extract the 9 prerequisites by 7-Zip.

- Get following CAB files from the extract folders, put them into a folder: preqs. You can delete the MSU files and extract folders, they are no longer needed.
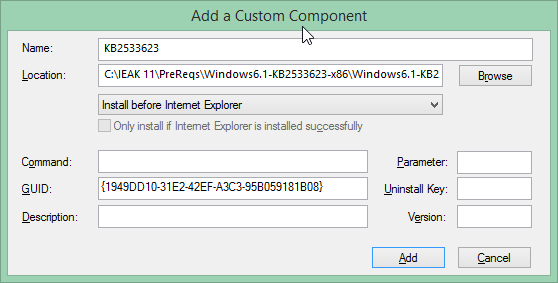
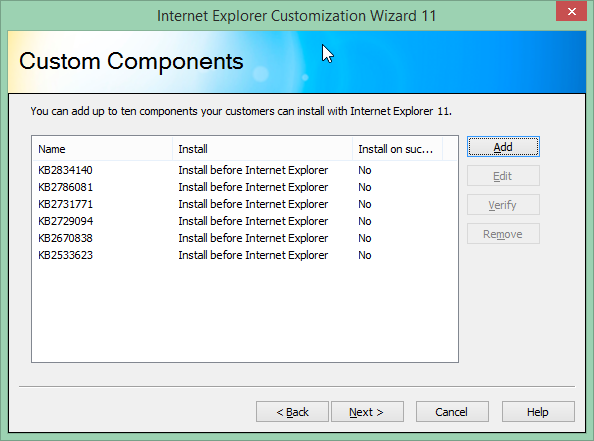
- Windows6.1-KB2533623-x86.cab
- Windows6.1-KB2639308-x86.cab
- Windows6.1-KB2670838-x86.cab
- Windows6.1-KB2729094-v2-x86.cab
- Windows6.1-KB2731771-x86.cab
- Windows6.1-KB2786081-x86.cab
- Windows6.1-KB2834140-v2-x86.cab
- Windows6.1-KB2882822-x86.cab
- Windows6.1-KB2888049-x86.cab
- Download Internet Explorer 11 from http://www.microsoft.com/en-us/download/internet-explorer-11-for-windows-7-details.aspx.
or
- For
EIE11_EN-US_MCM_WIN7.exeandEIE11_EN-US_MCM_WIN764.exe, extract IE11 installation file by 7-Zip, open CMD and cd to the extract folder and run command:IE-REDIST.EXE /x:IE11_CABto extract the installation content to folder: IE11_CAB. - For
IE11-Windows6.1-x86-en-us.exeandIE11-Windows6.1-x64-en-us.exe, you can directly extract the installation content by command:IE11-Windows6.1-x86-en-us.exe /x:IE11_CAB. - Get IE-Win7.CAB from IE11_CAB folder, this is the main application package of IE11.
- In IE11_CAB folder, extract IE-Spelling-en.msu and IE-Hyphenation-en.msu, get following CAB files:
- Windows6.3-KB2849696-x86.cab
- Windows6.3-KB2849697-x86.cab
- Download the latest IE11 cumulative security update, the latest version is MS15-032 (KB3038314) when I am writing this article. You can download it from: https://technet.microsoft.com/en-us/library/security/ms15-032.aspx. Extract IE11-Windows6.1-KB3038314-x86.msu and get: IE11-Windows6.1-KB3038314-x86.cab.
- Ignore this step if you just want English version of IE. Download IE11 language package from: http://www.microsoft.com/en-us/download/details.aspx?id=40904. Take Simplified Chinese as an example, extract IE11-Windows6.1-LanguagePack-x86-zh-cn.msu and get Windows6.1-KB2841134-x86.cab.
- So far, all the CAB files we need are ready, let’s take a look at our package folder.

- Create the deployment batch file in package folder: DeployIE11.bat and edit it with notepad.
- First of all, install all the prerequisites:
ECHO OFF ECHO Installing IE 11 prerequisite: KB2834140 dism /online /add-package /packagepath:preqs/Windows6.1-KB2834140-v2-x86.cab /quiet /norestart ECHO Installing IE 11 prerequisite: KB2670838 dism /online /add-package /packagepath:preqs/Windows6.1-KB2670838-x86.cab /quiet /norestart ECHO Installing IE 11 prerequisite: KB2639308 dism /online /add-package /packagepath:preqs/Windows6.1-KB2639308-x86.cab /quiet /norestart ECHO Installing IE 11 prerequisite: KB2533623 dism /online /add-package /packagepath:preqs/Windows6.1-KB2533623-x86.cab /quiet /norestart ECHO Installing IE 11 prerequisite: KB2731771 dism /online /add-package /packagepath:preqs/Windows6.1-KB2731771-x86.cab /quiet /norestart ECHO Installing IE 11 prerequisite: KB2729094 dism /online /add-package /packagepath:preqs/Windows6.1-KB2729094-v2-x86.cab /quiet /norestart ECHO Installing IE 11 prerequisite: KB2786081 dism /online /add-package /packagepath:preqs/Windows6.1-KB2786081-x86.cab /quiet /norestart ECHO Installing IE 11 prerequisite: KB2888049 dism /online /add-package /packagepath:preqs/Windows6.1-KB2888049-x86.cab /quiet /norestart ECHO Installing IE 11 prerequisite: KB2882822 dism /online /add-package /packagepath:preqs/Windows6.1-KB2882822-x86.cab /quiet /norestart - Install IE11 application:
ECHO Installing IE 11 main application dism /online /add-package /packagepath:IE-Win7.cab /quiet /norestart - Install IE-Spelling and IE-Hyphenation:
ECHO Installing IE-Spelling dism /online /add-package /packagepath:Windows6.3-KB2849696-x86.cab /quiet /norestart ECHO Installing IE-Hyphenation dism /online /add-package /packagepath:Windows6.3-KB2849697-x86.cab /quiet /norestart - Install language package (ignore this step if you are just want English version):
ECHO Installing IE 11 Simplified Chinese language package dism /online /add-package /packagepath:Windows6.3-KB2849697-x86.cab /quiet /norestart - Install cumulative security update:
ECHO Installing latest IE cumulative security update: KB3038314 dism /online /add-package /packagepath:IE11-Windows6.1-KB3038314-x86.cab /quiet /norestart - The final version of DeployIE11.bat:
ECHO OFF ECHO Installing IE 11 prerequisite: KB2834140 dism /online /add-package /packagepath:preqs/Windows6.1-KB2834140-v2-x86.cab /quiet /norestart ECHO Installing IE 11 prerequisite: KB2670838 dism /online /add-package /packagepath:preqs/Windows6.1-KB2670838-x86.cab /quiet /norestart ECHO Installing IE 11 prerequisite: KB2639308 dism /online /add-package /packagepath:preqs/Windows6.1-KB2639308-x86.cab /quiet /norestart ECHO Installing IE 11 prerequisite: KB2533623 dism /online /add-package /packagepath:preqs/Windows6.1-KB2533623-x86.cab /quiet /norestart ECHO Installing IE 11 prerequisite: KB2731771 dism /online /add-package /packagepath:preqs/Windows6.1-KB2731771-x86.cab /quiet /norestart ECHO Installing IE 11 prerequisite: KB2729094 dism /online /add-package /packagepath:preqs/Windows6.1-KB2729094-v2-x86.cab /quiet /norestart ECHO Installing IE 11 prerequisite: KB2786081 dism /online /add-package /packagepath:preqs/Windows6.1-KB2786081-x86.cab /quiet /norestart ECHO Installing IE 11 prerequisite: KB2888049 dism /online /add-package /packagepath:preqs/Windows6.1-KB2888049-x86.cab /quiet /norestart ECHO Installing IE 11 prerequisite: KB2882822 dism /online /add-package /packagepath:preqs/Windows6.1-KB2882822-x86.cab /quiet /norestart ECHO Installing IE 11 main application dism /online /add-package /packagepath:IE-Win7.cab /quiet /norestart ECHO Installing IE-Spelling dism /online /add-package /packagepath:Windows6.3-KB2849696-x86.cab /quiet /norestart ECHO Installing IE-Hyphenation dism /online /add-package /packagepath:Windows6.3-KB2849697-x86.cab /quiet /norestart ECHO Installing IE 11 Simplified Chinese language package dism /online /add-package /packagepath:Windows6.3-KB2849697-x86.cab /quiet /norestart ECHO Installing latest IE cumulative security update: KB3038314 dism /online /add-package /packagepath:IE11-Windows6.1-KB3038314-x86.cab /quiet /norestart - Deploy the whole folder to the client PC, run CMD as administrator and execute DeployIE11.bat, reboot the PC after installation and IE11 will be installed. Of course, you can use SCCM to deploy this package widely.

If the the installation still fails by using the method above, you can perform an In-Place Upgrade and try again.